
By a Product Manager who’s spent 3+ years modeling complex systems with Visual Paradigm
Introduction: Why This Guide Exists
When I first opened Visual Paradigm back in 2021, I’ll be honest—I felt overwhelmed. The interface looked powerful but dense, like stepping into a cockpit with dozens of controls. After fumbling through my first few UML diagrams and accidentally collapsing toolbars I didn’t know how to restore, I realized: there has to be a better way to learn this.
This guide isn’t a dry manual. It’s the resource I wish I’d had on day one—a practical, experience-driven walkthrough written from the perspective of someone who’s been in your shoes. Whether you’re a business analyst mapping processes, a developer reverse-engineering code, or a student learning UML, I’ll share what actually works when you’re trying to get things done in Visual Paradigm.

Let’s dive in.
First Impressions: The Visual Paradigm Workspace
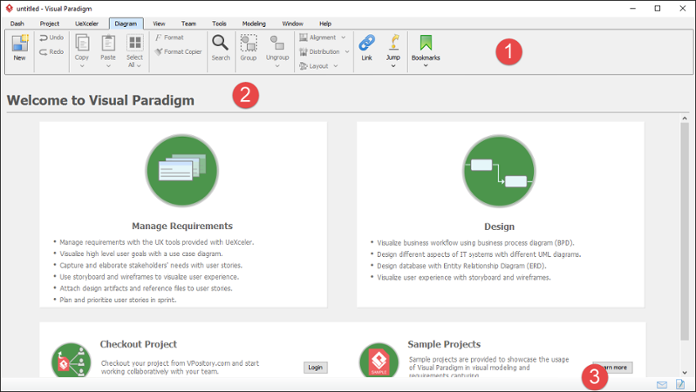
The Visual Paradigm interface on first launch—organized but feature-rich.
When you launch Visual Paradigm, you’re greeted by three core zones that become your daily workspace:
| No. | Component | What It Actually Does For You |
|---|---|---|
| 1 | Toolbar | Your command center. I keep mine expanded because switching between menus constantly broke my flow early on. Pro tip: Double-click any menu header to collapse/expand it quickly. |
| 2 | Diagram Editor | Where the magic happens. This is your canvas for UML, BPMN, ERD—you name it. I spend 80% of my time here. |
| 3 | Message Pane | Your silent assistant. It logs errors, team updates, and process confirmations. I keep it visible during collaborative work so I don’t miss critical notifications. |
💡 My Workflow Tip: Press
Ctrl+Tabto toggle between open diagrams. It saved me countless clicks during complex refactoring sessions.
Navigating the Toolbar: Your Feature Control Panel
The toolbar sits at the top and organizes Visual Paradigm’s extensive capabilities into logical tabs. Here’s how I use each one in real projects:
🚀 The Dash Menu: My Personal Command Center

Early on, I wasted time hunting for frequently used tools across different menus. Then I discovered Dash menu customization. Now I pin my top 10 actions here: New Diagram, Save, Format Copier, Search, and Project Browser.
How to customize: Right-click any toolbar button → Add to Dash Menu. Suddenly, my most-used tools are one click away.
📁 The Project Menu: Managing Your Work

This is where your project lifecycle lives. I use:
-
Save constantly (and enable auto-save in Application Options)
-
Export to share PDFs with stakeholders who don’t have VP installed
-
Referenced Projects when working across multiple interconnected models
🎯 The Diagram Menu: Your Daily Drawing Tools

This tab is my muscle memory zone. Key features I rely on:
-
Format Copier: Double-click to lock it, then apply consistent styling across dozens of elements
-
Alignment & Distribution: Critical for clean, professional diagrams. I use Align Center + Distribute Vertically constantly
-
Jump: Type partial names to instantly locate elements in large models—huge time saver
👁️ The View Menu: Controlling Your Perspective

This menu controls what you see. My essentials:
-
Project Browser: Always open in a side pane for navigation
-
Zoom to Region: When reviewing dense sequence diagrams
-
Full Screen: For focused modeling sessions (press
F11to toggle)
👥 The Team Menu: Collaboration Made Practical

When working with distributed teams:
-
Commit/Update: My daily rhythm for syncing with VPository
-
Visual History: Saved me twice when I needed to restore a diagram before a major refactor
-
PostMania: Surprisingly useful for async feedback on specific diagram elements
⚙️ The Tools & Modeling Menus: Power Features


These menus unlock Visual Paradigm’s advanced capabilities:
-
Code Generation: I’ve generated Java skeleton code from class diagrams—cut development time significantly
-
Doc. Composer: Auto-generate requirement specs from models. Stakeholders love the professional output
-
Visual Diff: Compare diagram versions side-by-side during code reviews
Mastering the Diagram Editor: Where Ideas Take Shape
The diagram editor is where you’ll spend most of your time. Here’s what each component does in practice:
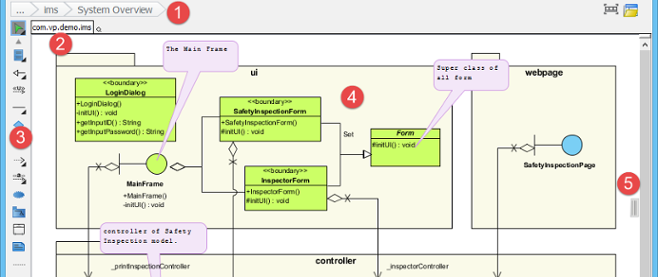
🔗 The Breadcrumb: Your Navigation Lifeline

Early mistake: I’d create diagrams, then lose track of where they lived in the model hierarchy. The breadcrumb solves this.
Pro technique: Click any segment to jump directly to that model element. Click the diagram name to copy its shareable link—perfect for Slack messages to teammates.
🔗 Sharing Diagram Links: Collaboration Simplified


Instead of saying “open the login flow diagram,” I share the link. Teammates paste it into their breadcrumb box and jump straight to the right view. Game-changer for remote teams.

🔄 Switching Diagrams Without Losing Context

When modeling complex systems, I often reference multiple diagrams. The Switch Diagram button (or Ctrl+Tab) lets me toggle views without closing anything. I keep 5-7 diagrams open during architecture sessions.
🔍 Diagram Overview: Taming Large Models

Working on enterprise-scale BPMN diagrams? The Diagram Overview pane (bottom-right corner) is essential. Drag the purple viewport rectangle to navigate, or resize it to zoom into specific sections. I use this daily for process maps with 100+ elements.
The Description Pane: Documenting as You Model
Early in my VP journey, I treated descriptions as an afterthought. Big mistake. Now I document requirements, decisions, and context directly in model elements. Here’s how:
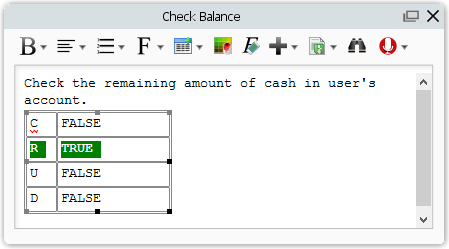
✍️ Rich Text Formatting That Actually Works
The formatting toolbar lets me create professional documentation inline:
-
Bold/Italic for emphasis in requirement descriptions
-
Tables to structure decision criteria
-
Hyperlinks to connect related model elements
💡 Hidden Gem: Click inside the description editor to reveal the full formatting toolbar if it’s hidden.
🎙️ Voice Descriptions: When Typing Isn’t Enough
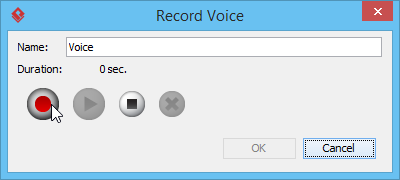
For complex business rules, I record 30-second voice notes instead of writing paragraphs. Teammates can play them back while reviewing diagrams.
Setup tip: Test your microphone first via Application Options > Audio.
🔗 Adding Model Element Links: Creating a Knowledge Web
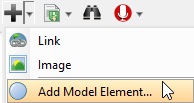
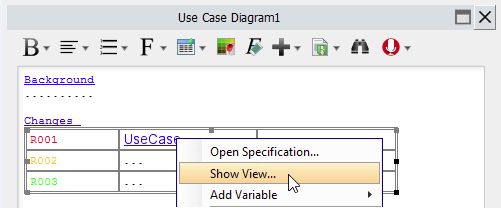
I link related use cases, classes, and requirements directly in descriptions. Right-click any underlined term → Show View to preview the element without leaving the pane. This creates a navigable knowledge network within my models.
📚 Building a Project Glossary
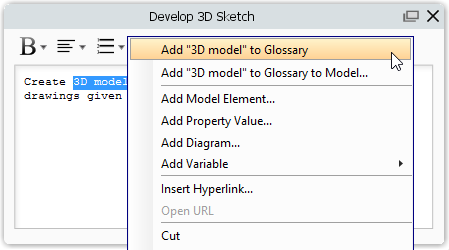
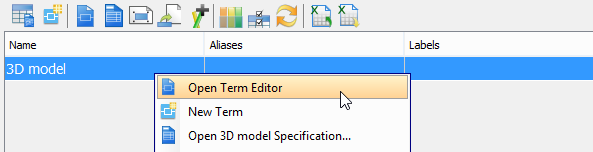
When domain terms like “premium subscriber” appear repeatedly, I add them to the glossary directly from the description pane. This ensures consistent terminology across the entire project—and new team members can look up definitions instantly.
The Message Pane: Your Silent Project Assistant
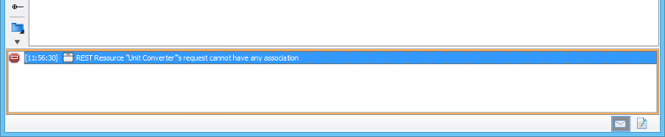
I used to ignore this pane. Then I missed a critical code generation error. Now I keep it visible during key operations:
-
Green messages: Confirm successful operations (save, export, commit)
-
Yellow warnings: Flag potential issues before they become problems
-
Red errors: Immediate action required—don’t ignore these!
Management tip: Right-click the pane → Clear Logs weekly to keep it readable. Or enable Auto-hide in Application Options if screen space is tight.
Project Browser: Your Model’s Command Center
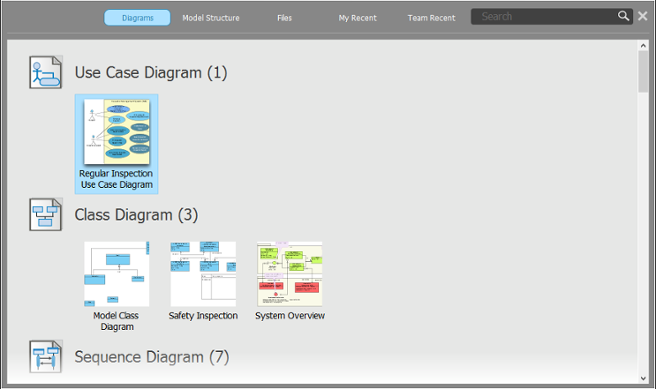
The Project Browser transformed how I navigate complex projects. Here’s my workflow:
🖼️ Diagrams View: Visual Navigation
-
Thumbnails help me recognize diagrams instantly
-
Search field with wildcard support (
*) finds diagrams by partial names -
Hover navigation arrows browse categories without scrolling
🗂️ Model Structure View: Understanding Hierarchy
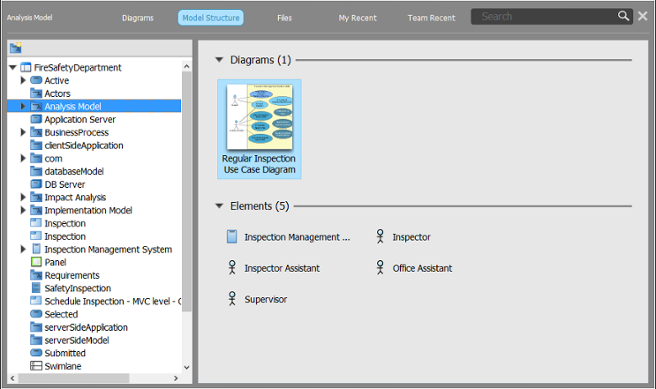
When onboarding new team members, I walk them through the model structure here. Double-click any element to open its specification—perfect for quick context switching.
📁 Files View: Keeping Resources Organized
I store requirement documents, API specs, and reference images here. Everything stays with the project, no more hunting through shared drives.
👤 My Recent & 👥 Team Recent: Smart History
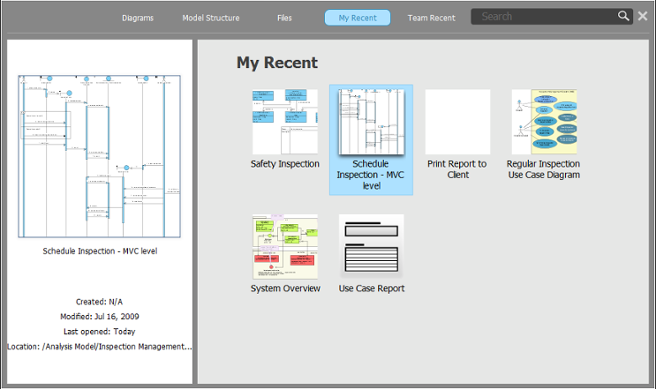
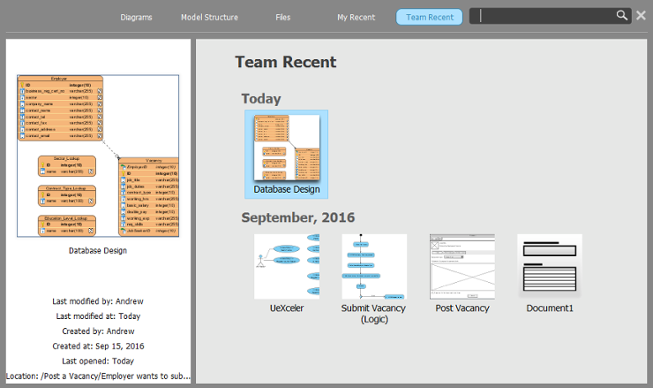
-
My Recent: Jump back to diagrams I was editing yesterday
-
Team Recent: See what collaborators modified—essential for merge conflict prevention
🔍 Unified Search: Finding Anything, Fast
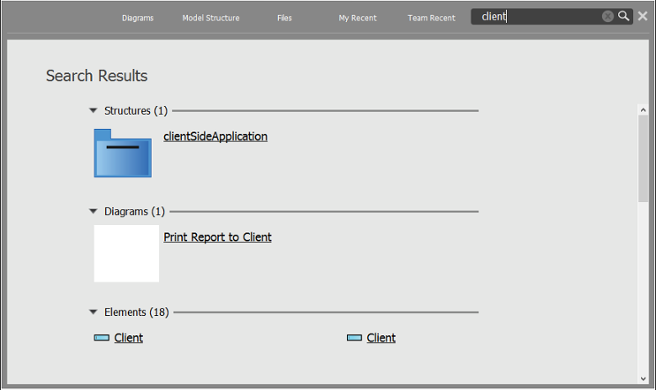
Type login* to find all login-related diagrams, classes, and use cases. Results appear instantly. I use this multiple times per hour during complex modeling sessions.
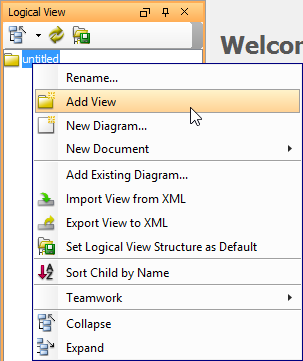
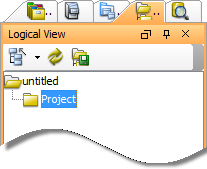
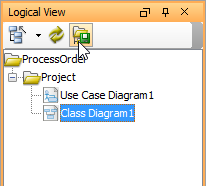
Logical View: Structuring Enterprise Models
For large-scale projects, the Logical View helps me organize diagrams into meaningful hierarchies:
🌳 Creating View Nodes: Building Your Model Architecture
I structure projects like:
System > Subsystems > Modules > Diagrams
This mirrors our codebase architecture and makes onboarding intuitive.
📦 Adding Diagrams to Views
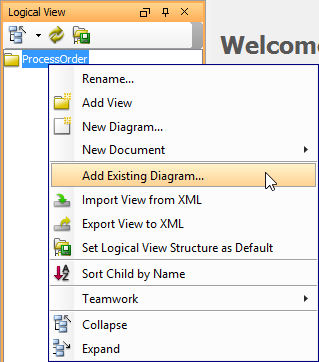

Drag-and-drop isn’t supported here, but the multi-select dialog works well. I batch-add related diagrams when setting up new modules.
⚙️ Setting Default Structures: Save Time on New Projects
After perfecting my enterprise template, I set it as default. Now every new project starts with my preferred hierarchy—saving hours of setup time.
🔄 Export/Import View Structures: Share Best Practices
I export my Logical View structure to XML and share it with other teams. They import it to adopt our modeling standards instantly. This consistency reduced integration friction across departments.
Conclusion: From Overwhelmed to Empowered
Looking back at my Visual Paradigm journey, the learning curve was real—but absolutely worth it. The interface that once felt intimidating now feels like an extension of my thinking process.
Key takeaways from my experience:
-
Customize early: Spend 30 minutes setting up your Dash menu and default views. It pays dividends daily.
-
Document as you go: Use the Description Pane proactively. Future-you (and your teammates) will thank you.
-
Leverage navigation tools: Breadcrumbs, Project Browser, and links turn complex models into navigable knowledge bases.
-
Embrace collaboration features: Team menus and Visual History prevent so many “oops” moments in group projects.
-
Start simple: Master the Diagram Editor and one toolbar tab before exploring advanced features.
Visual Paradigm isn’t just a diagramming tool—it’s a modeling ecosystem. Once you understand how its interface components work together, you unlock capabilities that transform how you design, document, and communicate complex systems.
If you’re just starting out: be patient with yourself. Pick one feature from this guide to master this week. In a month, you’ll look back and wonder how you ever modeled without it.
Happy diagramming! 🎨✨
References
- Visual Paradigm Official Website: The official homepage for Visual Paradigm software, featuring product information, downloads, and company resources.
- Visual Paradigm Tutorials: A comprehensive collection of UML tutorials designed to help new users get started with Visual Paradigm’s modeling capabilities.
- Visual Paradigm YouTube Channel: Official video tutorials, feature demonstrations, and tips from the Visual Paradigm team.
- Visual Paradigm Know-How: Community-driven knowledge base featuring tips, tricks, Q&A, and solutions to common user challenges.
- Visual Paradigm Support Portal: Direct channel for submitting support requests, accessing documentation, and contacting the Visual Paradigm team.
- Project Browser Documentation: Detailed guide on using the Project Browser for navigating diagrams, model structures, and project resources.
- Creating Diagrams Guide: Step-by-step instructions for creating and managing diagrams using Visual Paradigm’s toolbar and editor tools.