
When working with complex systems, the standard Unified Modeling Language (UML) often requires adaptation to fit specific domain needs. This is where the Profile Diagram becomes essential. A profile diagram allows modelers to extend the UML vocabulary without altering the core standard. It introduces new concepts tailored to a particular industry or technology stack. Understanding the anatomy of a profile diagram is critical for maintaining consistency across large-scale modeling efforts.
This guide breaks down every component required to build a functional profile. We will explore the structural elements, their relationships, and the practical application of these extensions. Whether you are designing embedded systems, web architectures, or enterprise workflows, knowing how to construct a profile diagram ensures your models remain accurate and maintainable.
Why Extend UML with Profiles? 🌍
Standard UML covers a broad range of general software engineering concepts. However, specific domains often require nuances that the base language does not provide. For instance, a database model needs different attributes than a real-time control system. Profiles allow you to create a Domain-Specific Modeling Language (DSML) on top of UML.
Key reasons to utilize profile diagrams include:
- Specialization: Define terms specific to your industry, such as Microservice or Database Table.
- Consistency: Ensure all team members use the same notation for specific concepts.
- Automation: Enable code generation tools to recognize specific patterns and generate boilerplate code.
- Clarity: Remove ambiguity by explicitly defining how certain elements behave in your context.
A profile does not replace the standard UML. Instead, it augments it. The resulting diagram looks like a standard UML diagram but carries additional semantic meaning through the profile components.
Core Components of a Profile Diagram 🧩
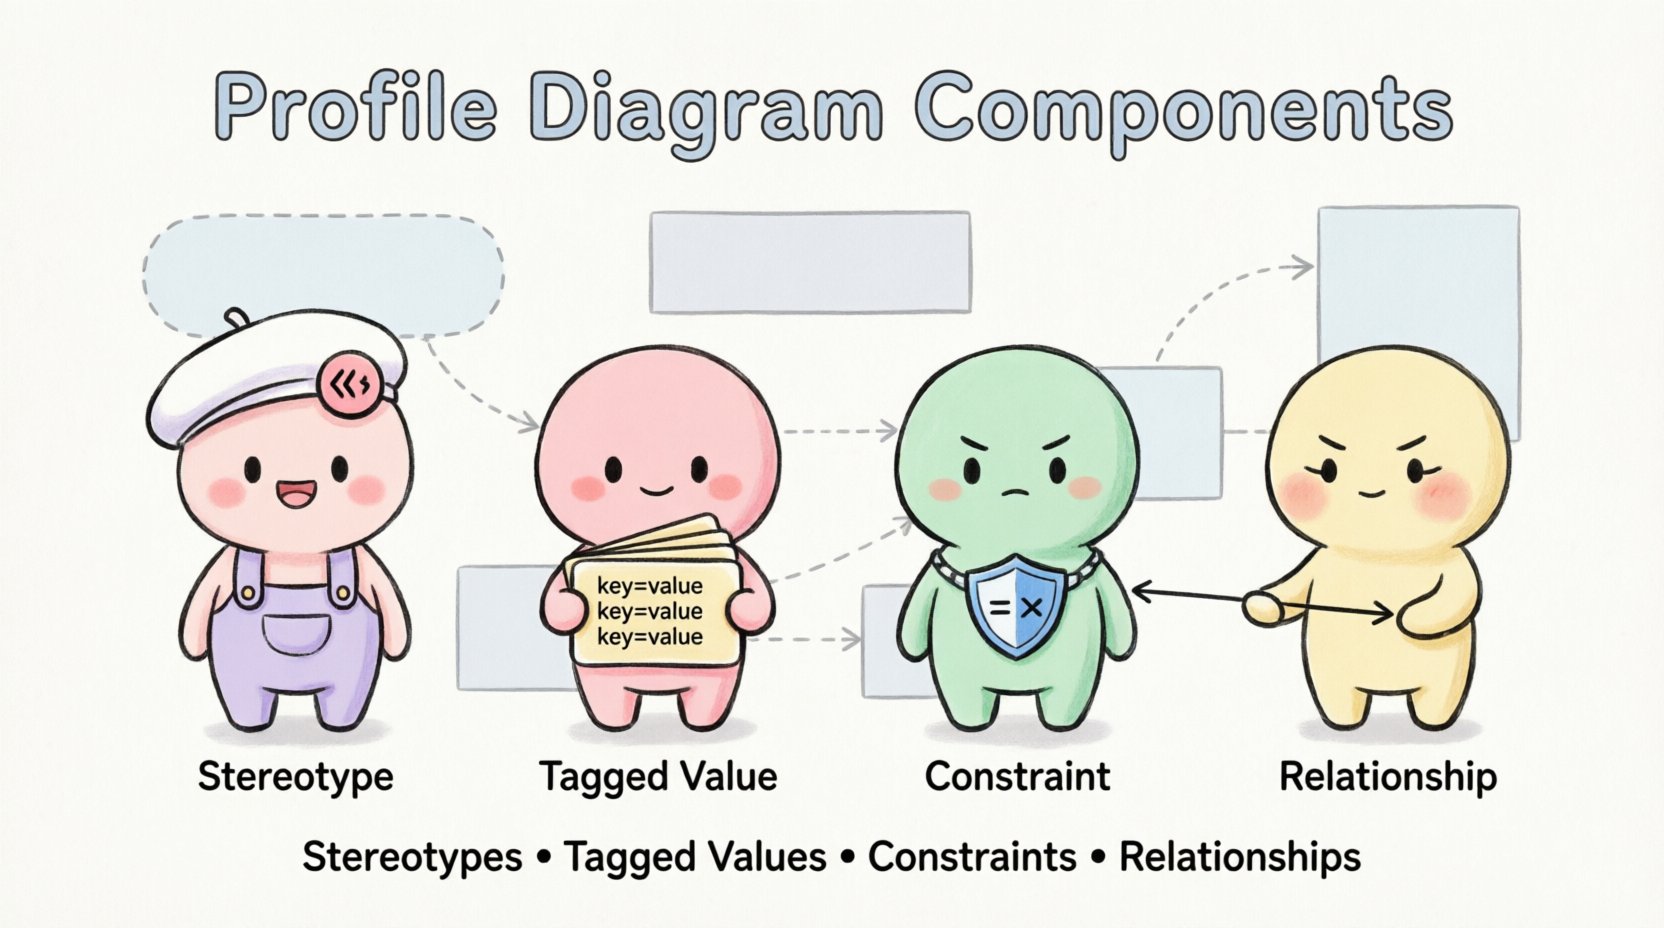
A profile diagram is essentially a package containing specific elements. These elements define how the profile modifies or extends existing UML metaclasses. To build a robust profile, you must understand the four primary components: Stereotypes, Tagged Values, Constraints, and Relationships.
1. Stereotypes 🏷️
Stereotypes are the most visible element of a profile. They act as keywords that modify the semantics of a UML element. When you apply a stereotype to a class, component, or use case, you change how that element is interpreted by the modeling tool and by human readers.
For example, a standard Class represents a blueprint for objects. A stereotype {Entity} might indicate that this class maps directly to a database table. A stereotype {Service} could imply that the class is part of a distributed system.
Characteristics of a Stereotype:
- Metaclass Association: A stereotype must be associated with a specific metaclass (e.g., Class, Component, Use Case).
- Notation: In diagrams, they appear in guillemets (e.g., {MyStereotype}).
- Iconography: Tools often display a specific icon next to the element to visually distinguish it.
- Extensibility: You can nest stereotypes or combine them with tagged values.
2. Tagged Values 🏷️
While stereotypes define the type of an element, Tagged Values define its properties. They function like attributes or metadata attached to the stereotype. This allows you to store specific data points that are not part of the standard UML definition.
Consider a stereotype {APIEndpoint}. You might need to specify the HTTP method used. A tagged value named method with a value of POST provides this information. Another tagged value could be version set to v1.0.
Key Functions of Tagged Values:
- Data Storage: Hold specific configuration details for model elements.
- Validation: Define allowed data types (e.g., integer, string, boolean).
- Code Generation: Provide parameters needed by backend generators.
- Documentation: Add context that might clutter the main diagram but is necessary for reference.
3. Constraints 🛑
Constraints define rules that must be satisfied for the model to be valid. They act as guardrails for the profile. Constraints can be written in natural language or formal languages like Object Constraint Language (OCL).
For example, a constraint on a {DatabaseTable} stereotype might state that the table must have a primary key. If a modeler tries to apply this stereotype without a primary key, the tool can flag an error.
Types of Constraints:
- Structural: Rules regarding the arrangement of elements.
- Behavioral: Rules regarding the flow or logic of the system.
- Data Integrity: Rules ensuring data consistency across the model.
4. Relationships 🔗
The connections between these components define the structure of the profile itself. A stereotype is not an island; it relates to the metaclasses it extends and the tagged values it uses.
The most critical relationship is the Extension Relationship. This links the stereotype to the metaclass it modifies. Without this link, the stereotype has no target and cannot be applied to any model element.
Other relationships include:
- Association: Links stereotypes to tagged values.
- Dependency: Links the profile package to the model package where it is used.
- Generalization: Allows one stereotype to inherit properties from another.
Structuring the Profile Package 📦
In a modeling environment, a profile is typically stored within a specific package. This package acts as a container for all the profile components. It ensures that the extensions are isolated from the standard UML definitions.
Best Practices for Package Structure:
- Naming: Use clear, descriptive names for the profile package (e.g.,
FinancialDomainProfile). - Organization: Group related stereotypes together to avoid clutter.
- Versioning: Maintain version history for the profile package to track changes over time.
- Dependencies: Clearly mark external dependencies if the profile relies on other profiles.
When you apply a profile to a model, the tool reads the package contents and makes the stereotypes available in the palette or menu of the modeling environment.
How Elements Interact: A Visual Overview 📊
Understanding how these components fit together requires a look at their interactions. The following table summarizes the relationships between the main elements of a profile diagram.
| Component | Function | Target | Example |
|---|---|---|---|
| Stereotype | Extends semantics | Metaclass (e.g., Class) | {Microservice} |
| Tagged Value | Stores metadata | Stereotype | timeout: 30s |
| Constraint | Defines rules | Stereotype or Element | must_have_auth: true |
| Extension | Links Stereotype to Metaclass | Stereotype & Metaclass | Line with arrow |
Step-by-Step Construction Guide 🛠️
Creating a profile diagram involves a logical sequence of steps. While the specific interface of modeling tools varies, the underlying logic remains consistent.
Step 1: Define the Scope
Before creating elements, identify the domain. Are you modeling a cloud infrastructure? A medical device? Define the scope to ensure the profile does not become too generic.
Step 2: Create the Package
Create a new package to hold your profile. Name it appropriately. This package will be the source of truth for your extensions.
Step 3: Define Stereotypes
Identify the UML metaclasses you need to modify. For each, create a stereotype. Name the stereotype clearly, avoiding generic terms like Generic1.
Step 4: Add Tagged Values
For each stereotype, add the necessary tagged values. Define the data type for each value. This ensures that when users fill them in, they provide valid data.
Step 5: Establish Constraints
Write the constraints that govern the usage of these stereotypes. Ensure they are precise and unambiguous.
Step 6: Link Components
Draw the extension relationships between the stereotypes and their target metaclasses. Connect tagged values to their respective stereotypes.
Step 7: Apply the Profile
Once the profile is built, apply it to your target model. This makes the new stereotypes available for use in your diagrams.
Common Pitfalls to Avoid ⚠️
Building profiles requires discipline. Without it, the model can become difficult to maintain. Here are common issues encountered during profile development.
- Over-Engineering: Creating too many stereotypes for simple concepts. Keep it simple. If a standard UML element works, use it.
- Inconsistent Naming: Using different names for the same concept across different profiles. Establish a naming convention early.
- Ignoring Constraints: Failing to define rules allows invalid models to be created. Always define constraints for critical properties.
- Lack of Documentation: A profile without documentation is a burden to new team members. Include descriptions for every stereotype and value.
- Circular Dependencies: Ensure profiles do not depend on each other in a way that creates a loop. This breaks the model.
Profile vs. Standard UML: A Comparison 🔍
It is important to distinguish between standard UML elements and profile extensions. Standard elements are universal and widely understood. Profile elements are specific to your context.
Standard UML:
- Defined by the Object Management Group (OMG).
- Static and stable.
- Applies to all software engineering contexts.
Profile Extensions:
- Defined by the organization or domain team.
- Dynamic and changeable.
- Applies to specific contexts (e.g., Java Spring, .NET).
When presenting a diagram to a general audience, use standard UML. When presenting to a specialized team, use the profile diagram to convey deeper meaning.
Practical Use Cases 🚀
Profiles are not theoretical; they solve real-world problems. Here are scenarios where profile diagrams are indispensable.
Embedded Systems
Embedded software often requires real-time constraints. A profile can define a stereotype {RealTimeTask} with tagged values for priority and deadline. This allows engineers to visualize timing requirements directly on the architecture diagram.
Cloud Architecture
Cloud systems involve various deployment units. A profile can define {Container}, {LoadBalancer}, and {ServerlessFunction}. Tagged values can specify region, instance type, or scaling policies.
Enterprise Integration
Large enterprises use many integration patterns. A profile can define {MessageQueue} or {APIGateway}. This ensures that all integration points are modeled consistently across different business units.
Best Practices for Maintenance 🛡️
Once a profile is created, it becomes a standard asset. Treating it as such is vital for long-term success.
- Review Regularly: Schedule periodic reviews to ensure the profile still matches the current domain needs.
- Update Documentation: As the profile evolves, update the descriptions and examples.
- Train the Team: Ensure all modelers understand how to use the new stereotypes correctly.
- Version Control: Store the profile definition in a version control system to track changes and revert if necessary.
Extending Beyond the Basics 📈
Advanced modeling often requires more than just basic stereotypes. You can extend profiles further using advanced metamodeling techniques.
Profile Inheritance:
Just as classes inherit from other classes, profiles can inherit from other profiles. This allows you to build a hierarchy of profiles. For example, a MedicalProfile might inherit from a HealthcareDomainProfile while adding specific patient data constraints.
Constraint Languages:
For complex logic, move beyond simple text constraints. Use formal languages like OCL. This allows for programmatic validation of the model, ensuring that complex business rules are enforced automatically.
Conclusion on Component Mastery ✅
A profile diagram is a powerful tool for tailoring the modeling language to your specific needs. By understanding the interplay between stereotypes, tagged values, constraints, and relationships, you can create models that are both expressive and precise.
The key to success lies in balance. Do not overcomplicate the standard, but do not shy away from necessary extensions. With a well-structured profile, your diagrams will communicate more effectively, reducing errors and improving collaboration across your team. Focus on clarity, consistency, and maintainability to ensure your modeling efforts yield tangible results.
As you continue to develop your modeling skills, remember that the profile diagram is a living artifact. It grows with your system. Keep it clean, keep it documented, and keep it relevant to the domain it serves.