


When you start designing complex software systems, standard diagrams sometimes feel insufficient. You need a way to add domain-specific meaning to your models without changing the underlying language. This is where a Profile Diagram comes into play. It acts as an extension mechanism, allowing you to tailor modeling notations to your specific project needs. In this guide, we will walk through the process of creating your first profile diagram from scratch. We will explore the core concepts, the steps involved, and the practical applications that make this modeling technique essential for professional architecture.
🧩 Understanding the Profile Diagram Concept
A Profile Diagram is a specialized type of diagram in the Unified Modeling Language (UML). It defines a set of extensions for the standard modeling elements. Think of it as a vocabulary builder for your modeling environment. Instead of forcing every stakeholder to understand generic terms, you can define specific terms that reflect your business domain.
- Why use it? It bridges the gap between abstract technical models and concrete business requirements.
- What does it contain? It typically includes packages, stereotypes, tagged values, and constraints.
- Who uses it? Architects, system designers, and domain experts often collaborate on these diagrams.
Without profiles, you might end up with a cluttered model where standard UML elements are overloaded with meanings they were not designed to carry. By using a profile, you keep the base language clean while adding layers of specific information.
🛠️ Core Components of a Profile
Before you begin drawing, you must understand the building blocks. A profile is not just a drawing; it is a structured definition. Below is a breakdown of the essential elements you will encounter.
| Component | Description | Example Usage |
|---|---|---|
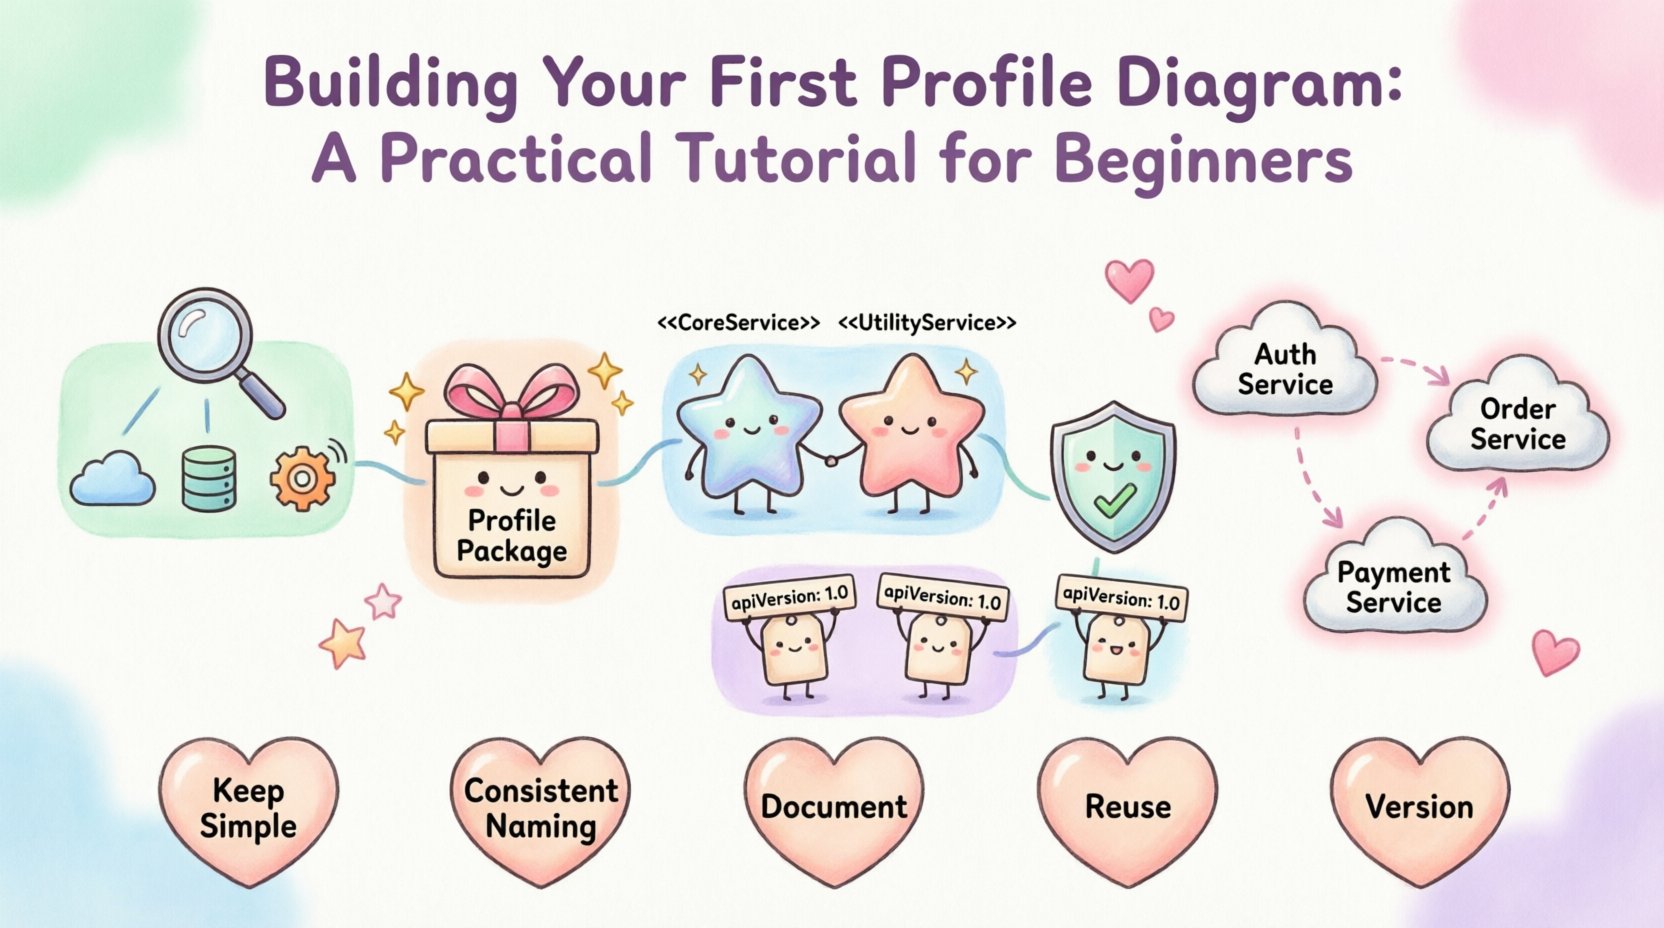
| Profile Package | The container that holds all profile definitions. | MySystemProfile |
| Stereotype | A new type of classifier or element, indicated by guillemets. | <<Service>> |
| Tagged Value | Custom metadata attached to a stereotype or element. | apiVersion: "1.0" |
| Constraint | A rule or restriction that limits the behavior of an element. | requiresAuthentication = true |
Each component plays a distinct role. The Package organizes your definitions. The Stereotype changes the visual appearance and semantic meaning of an element. The Tagged Value adds specific data points. The Constraint ensures rules are followed within the model.
🚀 Step-by-Step: Creating Your First Profile
Now that you know the parts, let’s assemble them. Follow this sequence to build a functional profile in your modeling environment.
Step 1: Define the Scope and Requirements
Before opening any tool, clarify what you need to model. Do not create a profile for everything. Focus on specific pain points.
- Identify the Domain: Are you modeling a microservices architecture? A financial transaction system? An IoT network?
- Identify Gaps: What standard UML terms are being misused or are insufficient? Perhaps you need to distinguish between a “Database” and a “Data Lake”.
- Define Terms: Write down the new terms you need. Keep them short and meaningful.
Step 2: Create the Profile Package
Start by creating a new package in your modeling environment. This package will hold all your custom definitions.
- Right-click on the model root or an existing package.
- Select “Create Profile” or “New Profile Package”.
- Name it clearly, such as
DomainProfileorSystemExtensions.
Step 3: Define Stereotypes
This is the most critical step. You are creating new types of elements.
- Right-click inside your new Profile Package.
- Select “Create Stereotype”.
- Name the stereotype. For example, create a stereotype named
Service. - Apply it to the appropriate base class. If you are creating a service, it might extend a
ComponentorClass.
Repeat this for every new concept you identified in Step 1. Common examples include <<Database>>, <<API>>, or <<UIPage>>.
Step 4: Add Tagged Values
Stereotypes often need extra information. Standard UML attributes might not fit. Use tagged values to store this metadata.
- Open the properties for your newly created stereotype.
- Add a new Tagged Value.
- Name the value (e.g.,
VersionorOwner). - Set the data type (String, Integer, Boolean).
This allows you to attach specific data to instances later, which is vital for documentation and code generation.
Step 5: Define Constraints
Constraints ensure that your model remains consistent. They act as guardrails for your architecture.
- Identify rules that must be followed. For instance, “All Services must have a timeout”.
- Write the constraint in OCL (Object Constraint Language) or a similar notation supported by your tool.
- Attach the constraint to the stereotype or the base class.
💡 Practical Example: Extending for Microservices
To make this concrete, let’s look at a scenario. Imagine you are designing a microservices architecture. Standard UML classes do not distinguish between a “Core Service” and a “Utility Service”. You want to visualize this distinction clearly.
Scenario Definition
You need two new stereotypes: <<CoreService>> and <<UtilityService>>. You also need to track the API version for each.
Implementation Steps
- Create Package: Name it
MicroserviceProfile. - Create Stereotype 1: Name it
CoreService. Base class:Component. - Create Stereotype 2: Name it
UtilityService. Base class:Component. - Add Tagged Value: For both, add a value named
APIVersionwith typeString. - Apply: Draw your system diagram. Drag instances of
CoreServiceandUtilityServiceonto the canvas.
Now, your diagram clearly shows which parts of the system are critical and which are helpers. Anyone looking at the diagram understands the hierarchy without needing a legend.
📋 Best Practices for Profile Design
Creating a profile is easy; creating a good profile is harder. Poorly designed profiles lead to confusion and maintenance nightmares. Follow these guidelines to ensure longevity.
1. Keep It Simple
Do not create too many stereotypes. If you have more than five, reconsider your design. Simple profiles are easier to adopt and less prone to errors.
2. Consistent Naming
Use a consistent naming convention for your stereotypes. Avoid mixing camelCase and snake_case. If you use <<Service>> for one, do not use <<apiService>> for another unless there is a clear distinction.
3. Document Everything
Just because a tool allows you to create a profile does not mean everyone will understand it. Add documentation notes to your profile package. Explain what each stereotype represents and when to use it.
4. Reuse Existing Standards
Do not reinvent the wheel. Check if industry standards exist. For example, the SysML profile exists for systems engineering. Use existing profiles where possible to ensure interoperability.
5. Version Your Profiles
As your system evolves, your profile might change. Keep track of changes. If you change a stereotype definition, ensure it does not break existing diagrams. Use version numbers in your package names if necessary.
⚠️ Common Pitfalls to Avoid
Many beginners make mistakes when starting their first profile. Being aware of these common errors can save you significant time later.
- Over-Engineering: Creating profiles for every minor detail. Only profile concepts that add significant value or clarity.
- Ignoring Base Classes: Failing to specify which standard UML element a stereotype extends. This leads to ambiguity in how the element behaves.
- Too Many Tagged Values: Attaching too much data to a stereotype makes the model cluttered. Only store data that is actively used.
- Forgetting Constraints: Defining stereotypes without rules allows users to misuse them. Constraints keep the model disciplined.
- Lack of Team Buy-in: Creating a profile in isolation. Ensure your team agrees on the definitions before applying them widely.
🔄 Applying Profiles to Other Diagrams
A profile is not a standalone diagram. It is a resource that you apply to other diagrams. Once you have defined your profile, you need to import or load it into your project context.
Importing the Profile
Most modeling environments require you to register the profile with the current project.
- Locate the profile in your project explorer.
- Right-click and select “Apply Profile” or “Register Profile”.
- Confirm that the new stereotypes appear in your palette or toolbox.
Using in Class Diagrams
When working with Class Diagrams, you can now use your new stereotypes. Instead of drawing a generic box, you draw a box with the stereotype icon. This changes the visual representation immediately.
- Drag the stereotype from the palette onto the canvas.
- Fill in the Tagged Values when prompted.
- Connect it using standard relationships (Association, Dependency, etc.).
Using in Component Diagrams
Component diagrams often benefit most from profiles. You can define different types of components, such as “Frontend”, “Backend”, or “Infrastructure”. This helps in visualizing the deployment topology.
📈 Maintenance and Evolution
Profiles are living artifacts. They change as the system changes. You must have a plan for maintenance.
- Review Regularly: Schedule quarterly reviews of your profile definitions. Are they still relevant?
- Update Documentation: If a stereotype definition changes, update the documentation immediately.
- Train the Team: When you introduce changes, hold a briefing session. Ensure everyone understands the new rules.
- Archive Old Versions: Do not delete old profiles. Archive them in a repository so you can reference past designs if needed.
🤝 Collaboration and Team Workflows
Profile diagrams are most effective when the whole team uses them. Collaboration is key to success.
Shared Repositories
Store your profile definitions in a shared location. This ensures everyone is using the same version. If someone creates a new stereotype, they should check it into the repository for others to see.
Code Reviews
Include profile usage in your code review process. If a developer uses a stereotype incorrectly, point it out. Consistency is the goal.
Documentation Integration
Link your profile diagrams to your technical documentation. When a developer reads the API docs, they should see the same terminology used in the model. This reduces cognitive load.
🌐 Advanced Considerations
As you gain experience, you might explore more advanced features of profile diagrams.
Profile Inheritance
You can create a base profile and extend it. For example, create a BaseProfile with common definitions, then create a WebProfile that extends the base. This reduces redundancy.
Multiple Profiles
It is possible to use multiple profiles in a single diagram. However, be careful. Too many profiles can lead to visual clutter. Limit yourself to one or two main profiles per diagram.
Code Generation
Some modeling tools allow you to generate code from your profiles. Tagged values can map directly to code annotations. This bridges the gap between design and implementation.
🔍 Summary of Key Takeaways
Building a Profile Diagram is a strategic decision. It requires planning, discipline, and clear communication. Here is a quick recap of the most important points.
- Profiles extend UML: They allow you to add domain-specific meaning.
- Core elements: Packages, Stereotypes, Tagged Values, and Constraints.
- Process: Define scope, create package, define stereotypes, add values, apply constraints.
- Best Practices: Keep it simple, document well, and version your work.
- Collaboration: Ensure the team understands and adopts the definitions.
By following this guide, you can create robust, meaningful models that communicate complex system architectures effectively. Remember, the goal is clarity. If your profile makes your diagrams easier to understand, you are doing it right.
📝 Frequently Asked Questions
Q: Can I use a profile diagram without a specific tool?
A: Yes, the concept is tool-agnostic. While most tools support UML profiles, the logic applies to any modeling method that allows extension.
Q: How do I handle conflicts between stereotypes?
A: If two stereotypes apply to the same element, define priority rules in your constraints. Usually, the more specific stereotype takes precedence.
Q: Is a profile diagram the same as a package diagram?
A: No. A package diagram shows the organization of packages. A profile diagram defines the content within a package that extends the modeling language.
Q: Can I delete a stereotype once it is used?
A: It is risky. If elements depend on the stereotype, deleting it may break the model. Instead, deprecate it and create a new version.
Start your first profile diagram today. Identify one small area of your model that needs clarification. Define a stereotype for it. Watch how much clearer your architecture becomes.